5 BASIC STEPS FOR NEWBIES TO CREATE SHOPIFY STORE

You have your products, your creative ideas and you are ready to learn how to build your own online store?!! Here are 5 steps in about 15 minutes of how to create a Shopify Store without a developer’s help.
So what are those 5 steps? Let’s begin!
Step 1: Sign Up

Sign In For Shopify
Where to start? First of all, get to Shopify’s main page: www.shopify.com. Hit the “Start free trial” button, enter your Email address, Password and name your Store. After you click “Create your store”, tell Shopify a bit about yourself (You can skip the questions if you want) and go straight next to the second page where you will be asked to enter your personal information like your name, address and phone number, which is used to configure currencies and tax rates.
Finally, click Enter to create your store. The first step is quite easy, isn’t it?
Step 2: Add Products
Add Your First Product
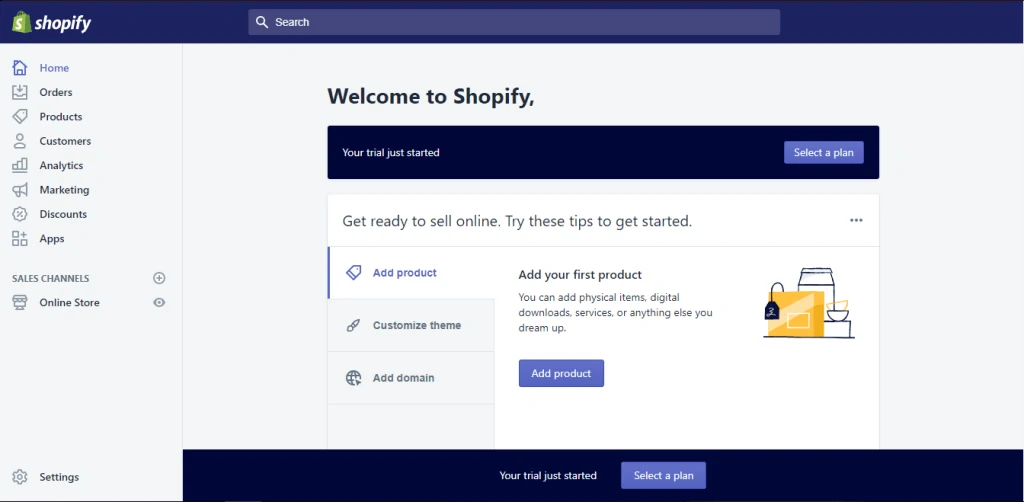
So you have successfully created your store. Right after that, you will see the Shopify backend and this also means your trial just started. The lower bar will let you know how many trial days you have left through the days.
Now get ready to sell online and begin with Shopify’s easy step-by-step process on how to completely set up your shop. As you can see, the first tab is “Add product”, so you should click on that first.
Upload Your First Products

Make Settings At Different Sections
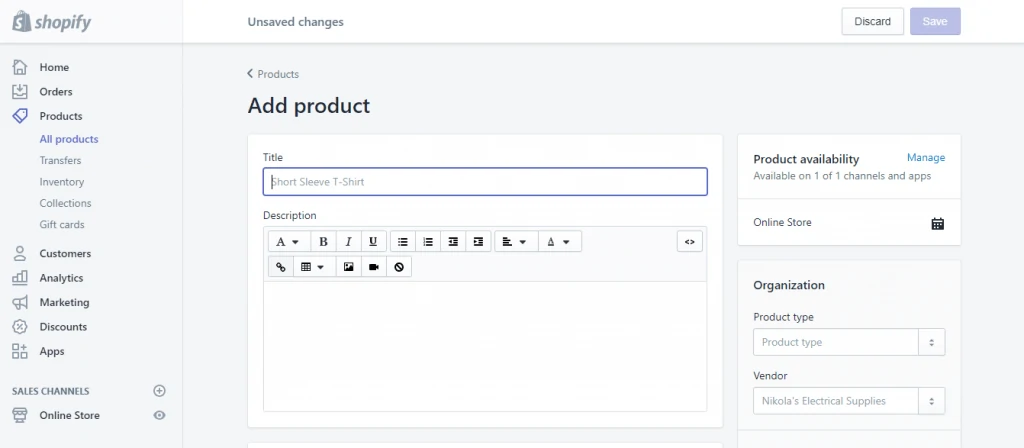
At the “Add product” site, you'll be asked to fill in information such as title, description, images, price, inventory, etc. Feel free to fill in however much of the product page you’d like. Just remember to “Save” the product at the end.
In addition you can use App like Importify to easily import products from hundreds of suppliers with a few clicks
Step 3: Customize Theme
Customize Theme for your site
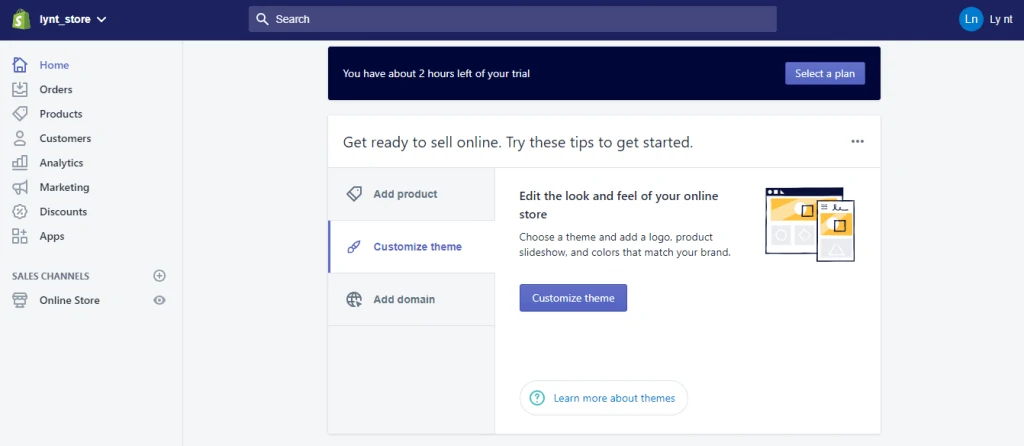
Turn back to “Home” and continue with the second tab: “Customize Theme”. In this area, you are able to customize all the different section parts of your site and make theme settings from logo to colors the way you want. This will take a bit of time to tinker.
Shopify theme options
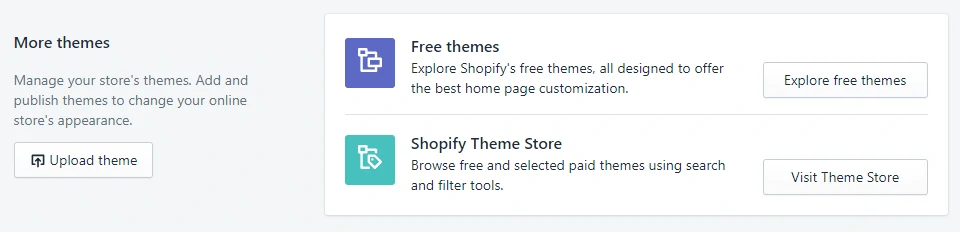
The most noticeable thing in this part is you have to select a suitable theme for your website like choosing clothes for it to wear. You can have a look at free themes and Shopify’s theme store. Try out different themes in Shopify to find a suitable and perfect outfit for your website.

Go to Shopify’s theme store for more choices
Step 4: Add Your Domain
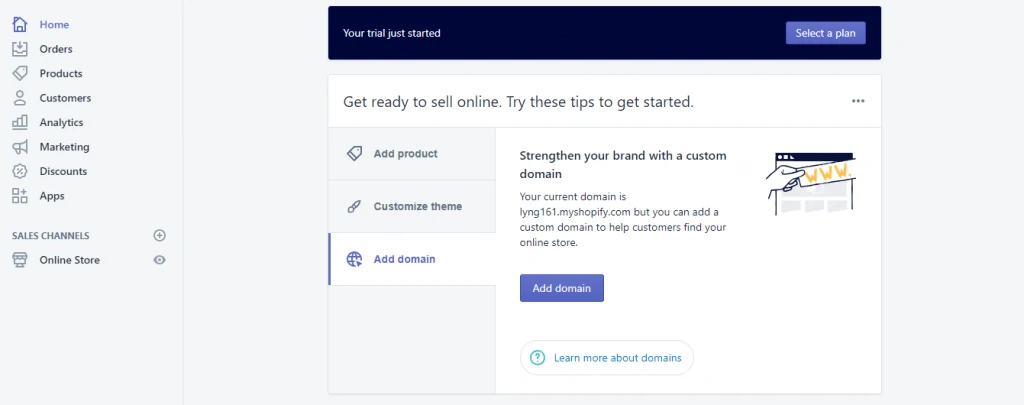
Add domain for your site
Again, go back to “Home” and click on the last third tab that notices you to “Add a Domain”. It’s time to choose a domain to make your site official. This part also asks you whether you want to connect an existing one or transfer a domain. Enter the domain you like and go through all the steps to make the purchase. Choose a Shopify payment you’d like to have. We recommend you to start with the Basic Plan $29/month. See how it works and you can upgrade to higher plans whenever you want.
After you choose a plan and activate it, you can then go to that particular domain and see your website.
Step 5: Activate Your Payment Processor
The last step is managing your payment processor. Click on the Setting tab at the left of the backend and go to Payments. In this section, you’re allowed to select from dozens of payment processors such as Stripe and Authorize.net. There is also Shopify’s own payment processor which is quite easy to implement. A few simple steps to activate your payment processor. This allows you to accept payments and put those payments in an account.
Well done! So that’s everything basic you need to know to set up your Shopify online Store at the beginning. Also, there are other parts you can see on the left side of the backend that you can play around and learn more like Analytics, Marketing, Discounts, etc.